Want After Effects-Quality Animation in Premiere? The Problem Isn't Premiere
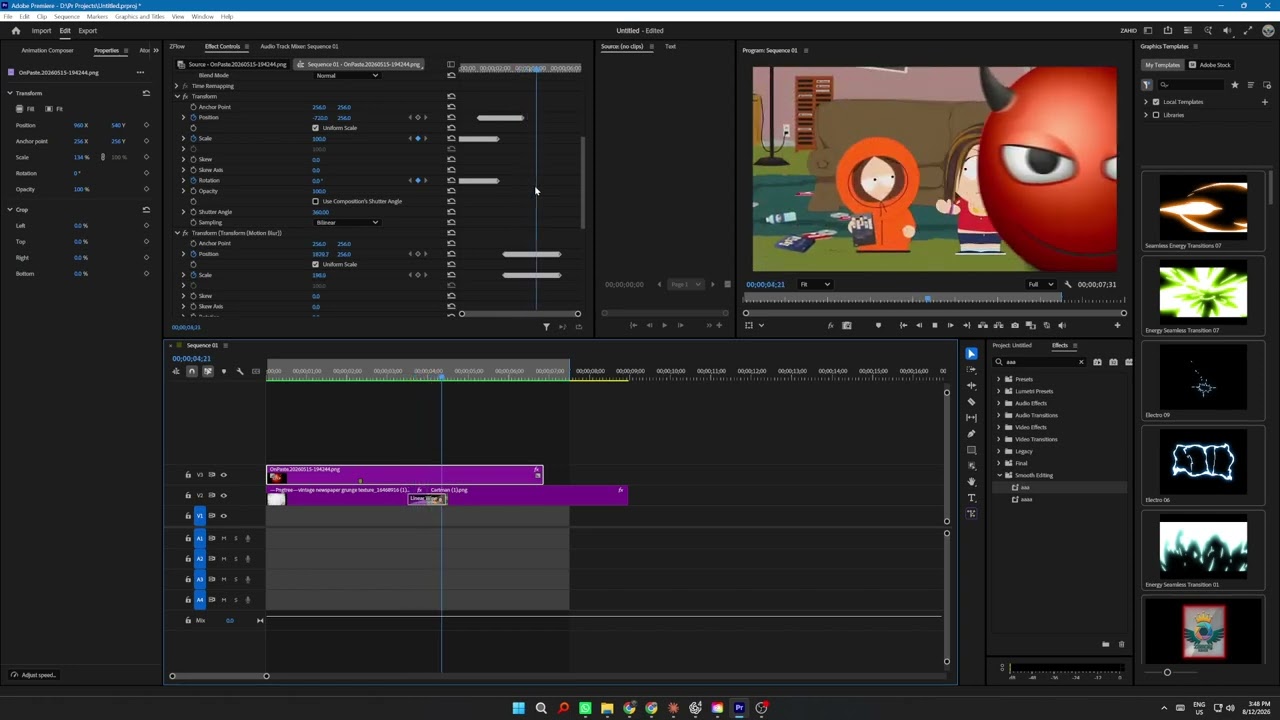
You have done this experiment without meaning to. You animate a title in Premiere — scale from 80 to 100, opacity 0 to 100, ease in, ease out — and it looks fine. Then you see the same move on a channel that edits in After Effects, and it doesn't look fine. It looks bought. Same two properties. Same two seconds. Completely different money.
The usual conclusion is that Premiere is the wrong tool and you need to learn AE. That conclusion is wrong in a very specific, very fixable way — and once you see it, you stop blaming the software.
Because it was never the effects. It's the curve.
Every Move Has a Shape. Yours Is Probably a Rectangle.
Any animation between two keyframes is just one question answered over and over: how fast is this thing moving right now? Plot that answer across the duration and you get a shape. That shape is the entire personality of the move.
Linear interpolation gives you a flat line — constant speed, hard start, hard stop. Nothing in the physical world moves like that, which is why linear reads as "computer did this." Premiere's Ease In and Ease Out round the corners a little, which is why they read as "computer did this, politely."
After Effects motion reads as expensive because its curves have opinions. A title that leaves fast and takes 70% of its duration gently arriving. A camera push that creeps, snaps through the middle, and settles. A card that overshoots its mark by a hair and comes back. None of that is an effect you install. It is one shape, applied deliberately.
"Nobody watching your video can name a bezier curve. Everybody watching your video can feel one."
What Premiere Actually Gives You (More Than You Think)
Here is the part most "Premiere can't do motion" posts get wrong. Right-click any keyframe in Effect Controls and Premiere offers a real list of temporal interpolation methods: Linear, Bezier, Auto Bezier, Continuous Bezier, Hold, Ease In and Ease Out. Twirl down the caret next to a property's stopwatch and you get a keyframe graph with draggable bezier handles — the same fundamental control After Effects gives you.
So Premiere is not missing the ability. What Premiere is missing is everything around the ability:
- No named curves. AE users say "quint out" and know exactly what they'll get. In Premiere you drag a handle until it looks right, and "right" changes depending on how tired you are.
- No numbers you can trust. You cannot type a curve, save it, or hand it to another editor. Every move is re-invented by hand.
- A graph the size of a postage stamp. The Effect Controls strip gives you a few dozen pixels of vertical room to shape a curve that decides how the whole shot feels.
- No repetition. Thirty lower-thirds means dragging handles sixty times, and none of them will match.
- No overshoot from the handles. This is the real ceiling. The "settle past the target and come back" move — the single most recognisable AE gesture — can't be dialled in from two keyframes and their ease handles. You have to hand-place a third keyframe past the value and ease your way back, every single time.
Put those together and you get the actual situation: Premiere can produce AE-grade timing. It just can't produce it twice. And motion design that isn't repeatable isn't a style — it's an accident you occasionally have.
Four Curves That Cover About 90% of Real Work
You do not need twenty-eight curves to level up. You need four, and you need to know what each one says. The numbers below are standard cubic-bezier control points — the same notation CSS and After Effects expressions use, so you can carry them anywhere.
Quint Out — the workhorse
0.22, 1, 0.36, 1
Leaves instantly, spends most of its life arriving. Use it for anything entering frame: titles, logos, scale-ins, wipes. If you only steal one curve, steal this one.
Expo In-Out — the cinematic one
0.87, 0, 0.13, 1
Barely moves, detonates through the middle, settles. This is the curve behind camera pushes, whip transitions and "how did they do that" reveals. Overuse it and everything feels drunk.
Back Out — the overshoot
0.34, 1.56, 0.64, 1
Sails past the target and settles back. Playful, app-like, meme-adjacent. Note the 1.56: it's above 1 on purpose, and that's exactly the value Premiere's ease handles won't let you reach.
Circ Out — weight
0, 0.55, 0.45, 1
Launches hard and decelerates like something with mass. Good for big elements, full-frame panels, anything that should feel heavy rather than snappy.
The Five Rules That Make Motion Read as "Expensive"
Curves are half of it. The other half is judgement, and these are the rules our editors work by:
- Ease the arrival, not the departure. For anything appearing on screen, use an out curve. Fast exit from the start value, long soft landing. Motion that eases in and out on a short move just looks slow.
- Cut your durations in half. This is the most common fix. AE motion isn't slower than yours — it's front-loaded. Most title moves want 8 to 14 frames, not 30. The curve is what makes a short move feel smooth instead of abrupt.
- Stagger anything that repeats. Five elements with the same curve, offset by 2–3 frames each, stops looking like five animations and starts looking like choreography. This one trick does more for perceived production value than any plugin.
- Never double-ease a continuous move. If a graphic slides in, holds, then slides out, easing all four keyframes turns the hold into mush. Ease the outer two. Leave the middle alone.
- Match the curve to the mass. Small and light gets Back or Expo. Large and heavy gets Circ or Quart. A full-screen panel that overshoots looks like a bug; a small badge that overshoots looks designed.
How to Do It by Hand, Today, With No Plugin
Nothing above requires buying anything. Here's the manual version:
- Set your two keyframes on the property.
- Right-click the first → Ease Out. Right-click the second → Ease In.
- Twirl down the caret beside the property name to open the value and velocity graphs.
- Drag the bezier handles. Pull the first handle far to the right to make it leave fast; pull the second handle far left to make it arrive slowly.
- For overshoot, add a third keyframe just past your target value, a few frames before the end, then ease back down to the final value.
That works. It genuinely works — and if you only animate one title per video, stop reading here and go do it.
The trouble starts at scale. Nobody hand-drags eighty handles across a twelve-minute video and gets the same shape twice. So the good version gets done on the hero title and the rest of the video quietly falls back to Ease In / Ease Out, and the edit ends up with two different personalities in it.
So I Built the Missing Piece
I spent a long time doing the manual version before deciding the repeatability problem was worth solving properly. That turned into ZFlow — a panel that lives inside Premiere Pro and does exactly one job: put a real easing curve between any two keyframes you already have.
ZFlow for Premiere Pro
Bezier easing, where you already work- 28 named curves — every one in this article, plus the full Basic, Sine, Quad, Cubic, Quart, Quint, Expo, Circ and Back families, grouped and searchable.
- A graph big enough to work in. Drag the handles, or type the four numbers. Save your own curves to a library you can move between machines.
- An After Effects style speed graph — the derivative view, with influence handles and a magnetic zero line, over the same curve.
- Overshoot that actually works. The curve is written into the span frame by frame, so control points above 1 or below 0 are simply part of the move.
- Stagger a whole selection by a set number of frames in one press — rule 3, automated.
- Copy the curve out as CSS, an After Effects expression, or raw values, so your timing survives leaving Premiere.
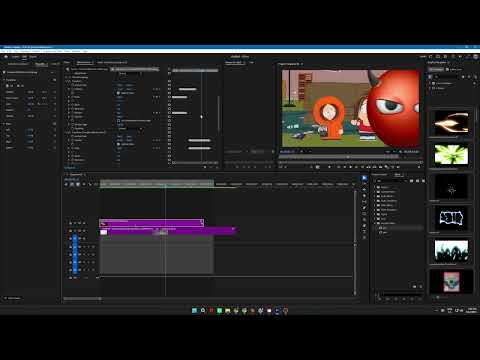
Here's a piece animated entirely inside Premiere with it — no After Effects round-trip, no dynamic link, no nested comps. Every ease you see was picked from the panel and applied to the span between two keyframes.
 ▶
▶
Made with ZFlow. Watch the arrivals rather than the entrances — that long soft landing at the end of each move is the entire difference between this and the same animation with Ease In / Ease Out on it.
The Ten-Minute Test
Don't take my word for any of this. Open your last project and do this before you close the tab:
- Find a title you animated with the default ease. Duplicate the clip.
- On the copy, shorten the move to 10 frames.
- Give it a Quint Out shape — handles dragged hard, or
0.22, 1, 0.36, 1typed in. - Play both at full resolution, twice each.
The second one will feel like it belongs to a bigger channel, and you changed no effects, added no plugins, and imported nothing. That gap — that whole gap — was the curve the entire time. Everything else in motion design is built on top of it.
If you want the deeper version of this thinking, the same principle drives retention on long-form edits and it's most of what makes an After Effects hook work. Timing isn't decoration. It's the product.
Want this level of motion without doing it yourself?
Our editors build cinematic titles, hooks and full motion packages every week — and if you'd rather do it yourself, ZFlow puts the curves in your own timeline for less than the price of one edit.